


Lexus GX470 Leather Seat Upholstery Installation Guide
The Lexus GX470 is a popular SUV for long-term ownership, overland builds, daily driving, and interior restoration projects. Like many older vehicles, the front seats can show wear over time, especially in the original upholstery and seat foam.
In this video, we walk through the front seat restoration process on a 2003–2009 Lexus GX470 using a custom LeatherSeats.com leather upholstery kit in Single-Tone Ivory.
This is not a slip-on seat cover installation. A LeatherSeats.com upholstery kit is designed to replace the original seat material. The factory upholstery is removed, the seat is inspected, and the new leather upholstery is installed using the seat’s original attachment points for a factory-style fit and finish.
What This Lexus GX470 Installation Covers
This Lexus GX470 front seat restoration includes:
- Removing the factory seats from the vehicle
- Stripping off the original upholstery
- Removing and transferring the factory seat heaters
- Steaming and reshaping worn seat foam
- Performing minor foam repair where needed
- Installing new leather upholstery using factory attachment points
- Reassembling and reinstalling the seats
Lexus GX470 Seat Upholstery Installation Steps
Step 1: Remove the Front Seats
The first step is removing the front seats from the GX470. This gives the installer full access to the seat frame, wiring, upholstery attachments, and foam underneath.
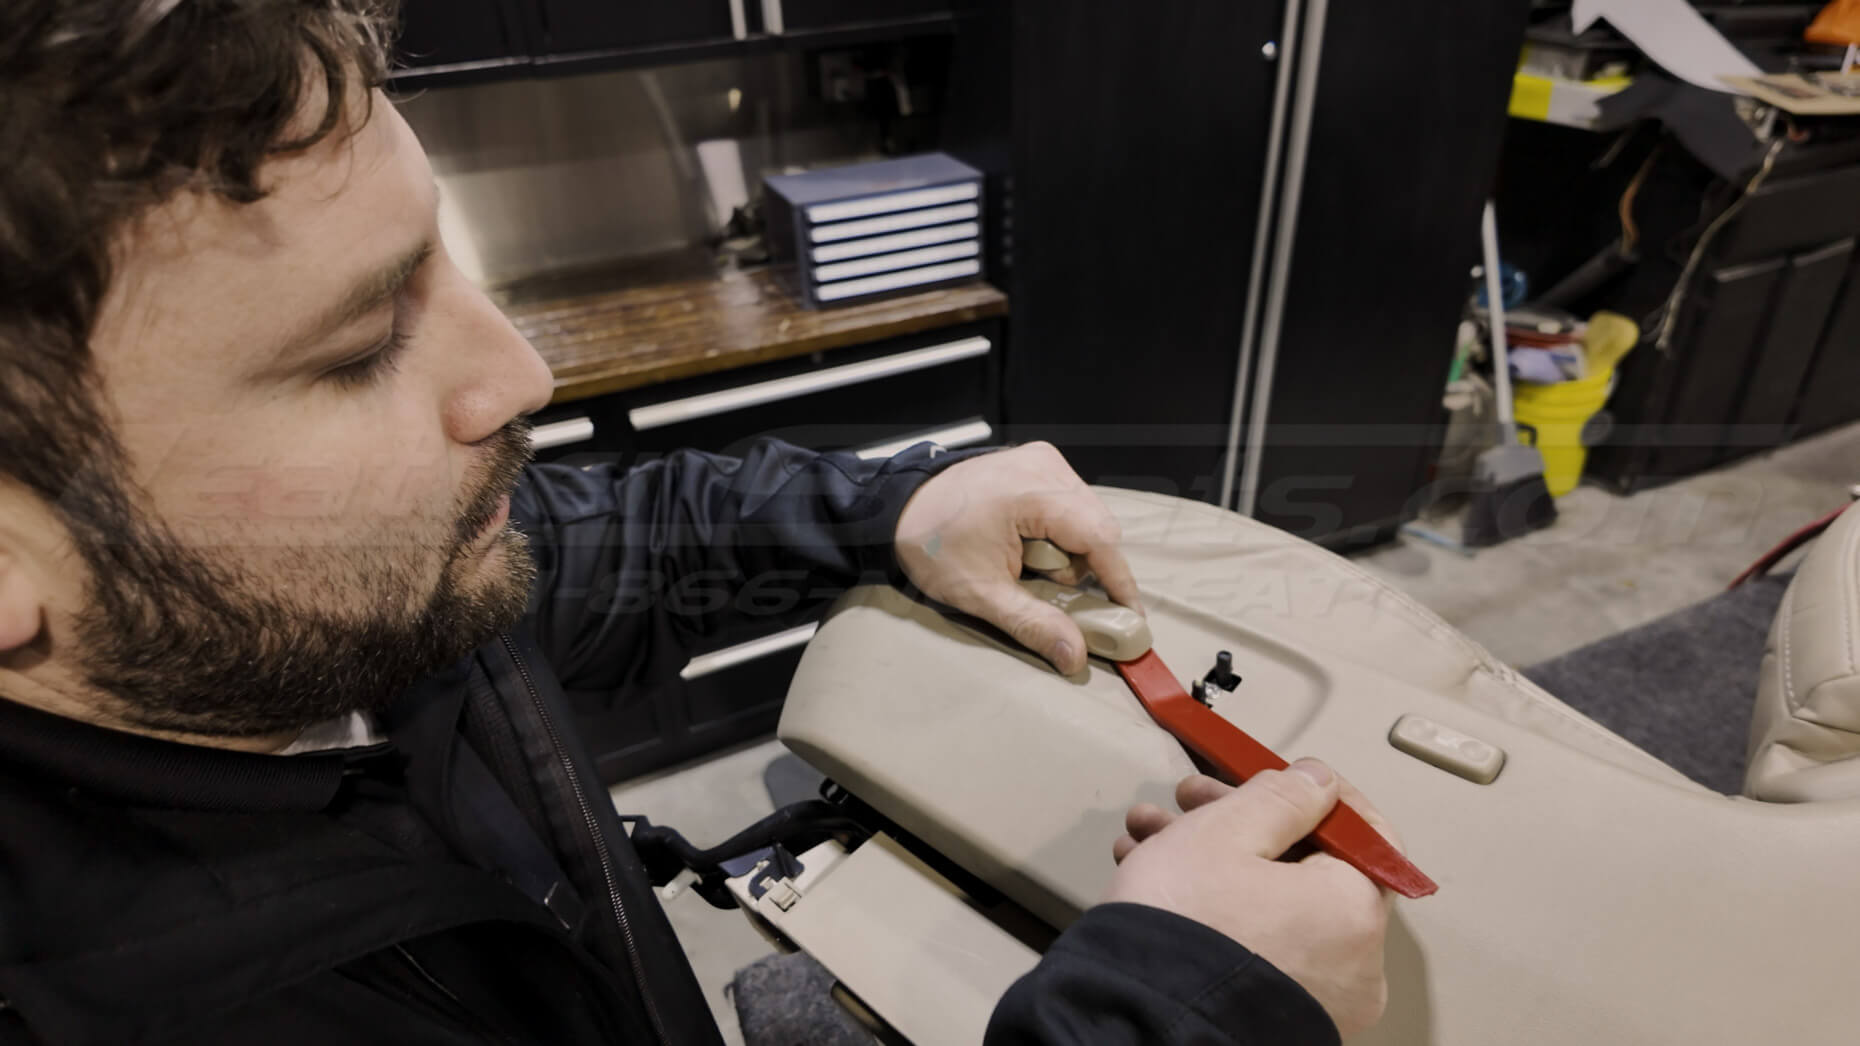
Start by popping off the plastic seat frame covers to expose the seat bolts. A plastic pry tool can help release the trim without damaging the surrounding pieces.
Slide the seat backward to access and remove the front bolts using a socket set. Then slide the seat forward to access and remove the rear bolts.
Once the bolts are removed, carefully tip the seat backward to access the underside of the seat. Disconnect the electrical connections before removing the seat from the vehicle. A pry tool or pick can be helpful for releasing some of the connectors.
Before pulling the seat out, protect the door panels, trim, and surrounding interior surfaces. Seats are bulky and can be awkward to maneuver, so take your time removing them from the vehicle.
Seat removal is an important part of a proper upholstery replacement. Trying to install replacement upholstery while the seat is still in the vehicle would make it difficult to access the original attachment points and properly tension the new covers.
Electrical connectors for power seat functions, airbags, and factory seat heaters should always be handled carefully before the seat is fully removed. To prevent warning lights on the dash and error codes, do not turn on the vehicle with the seats unplugged.
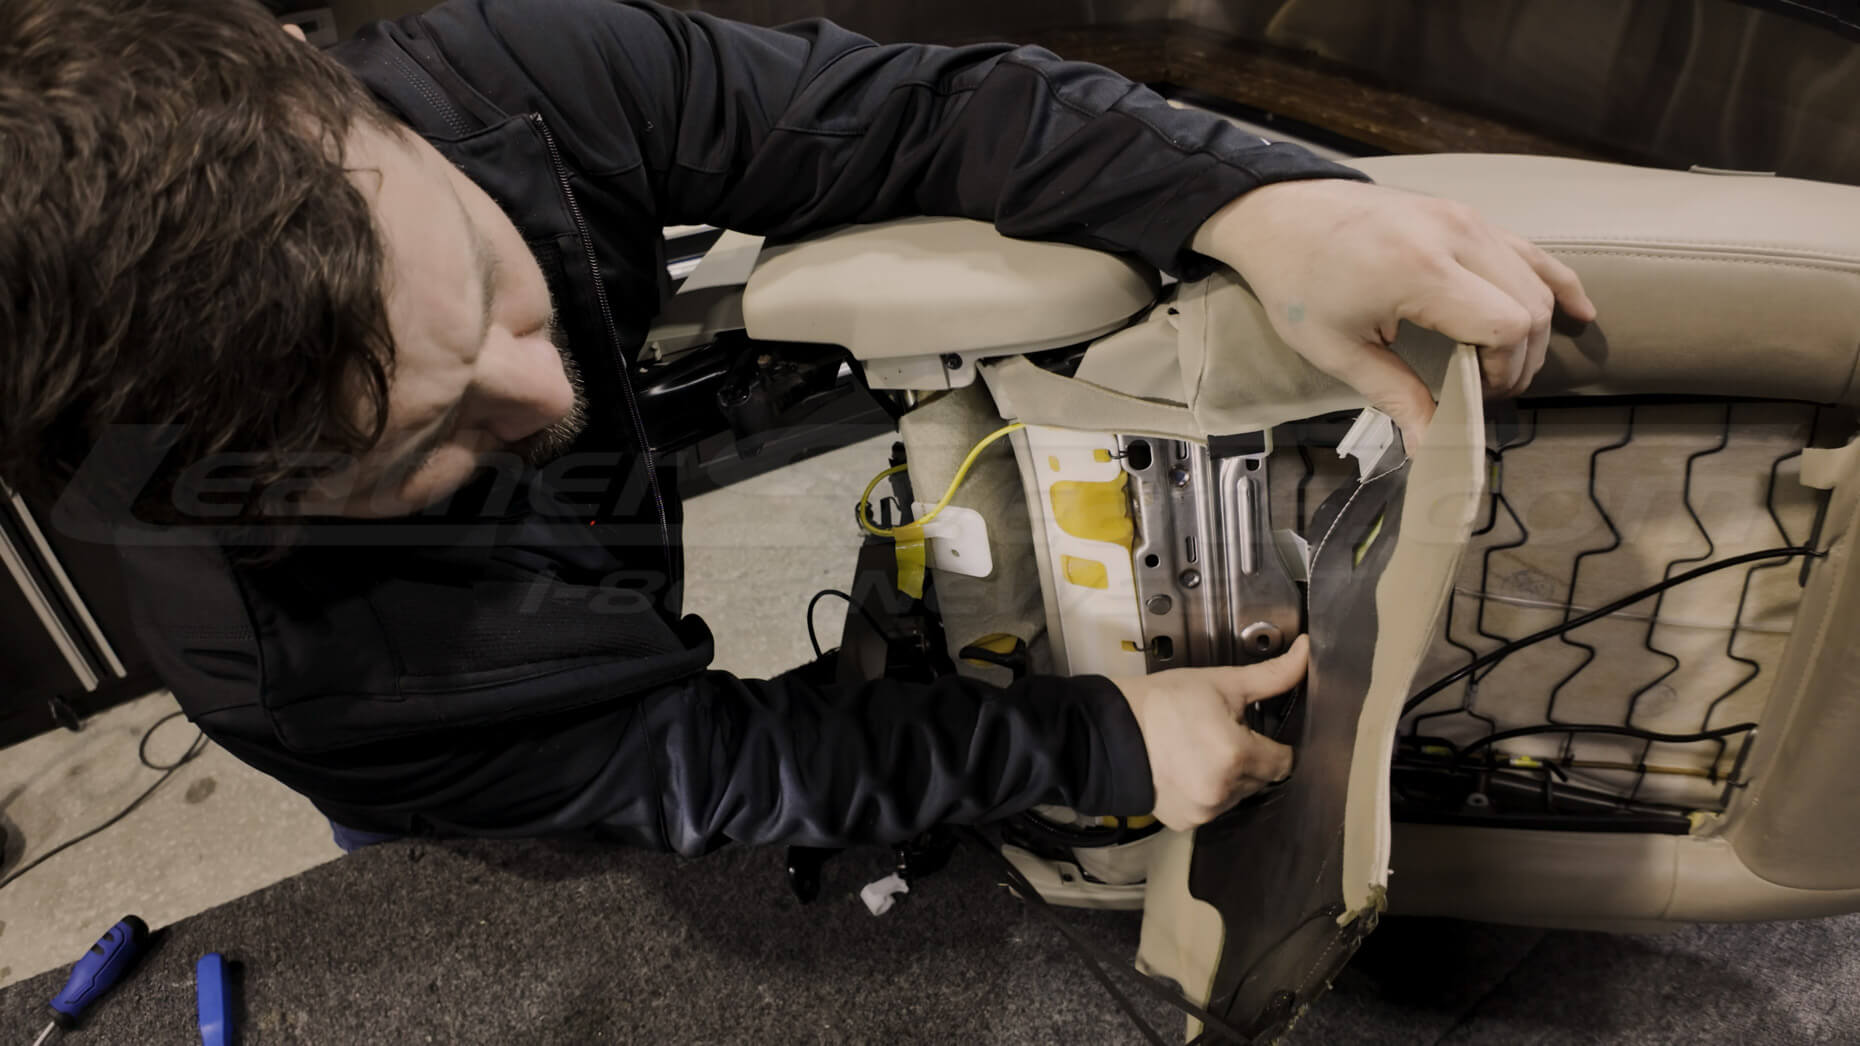
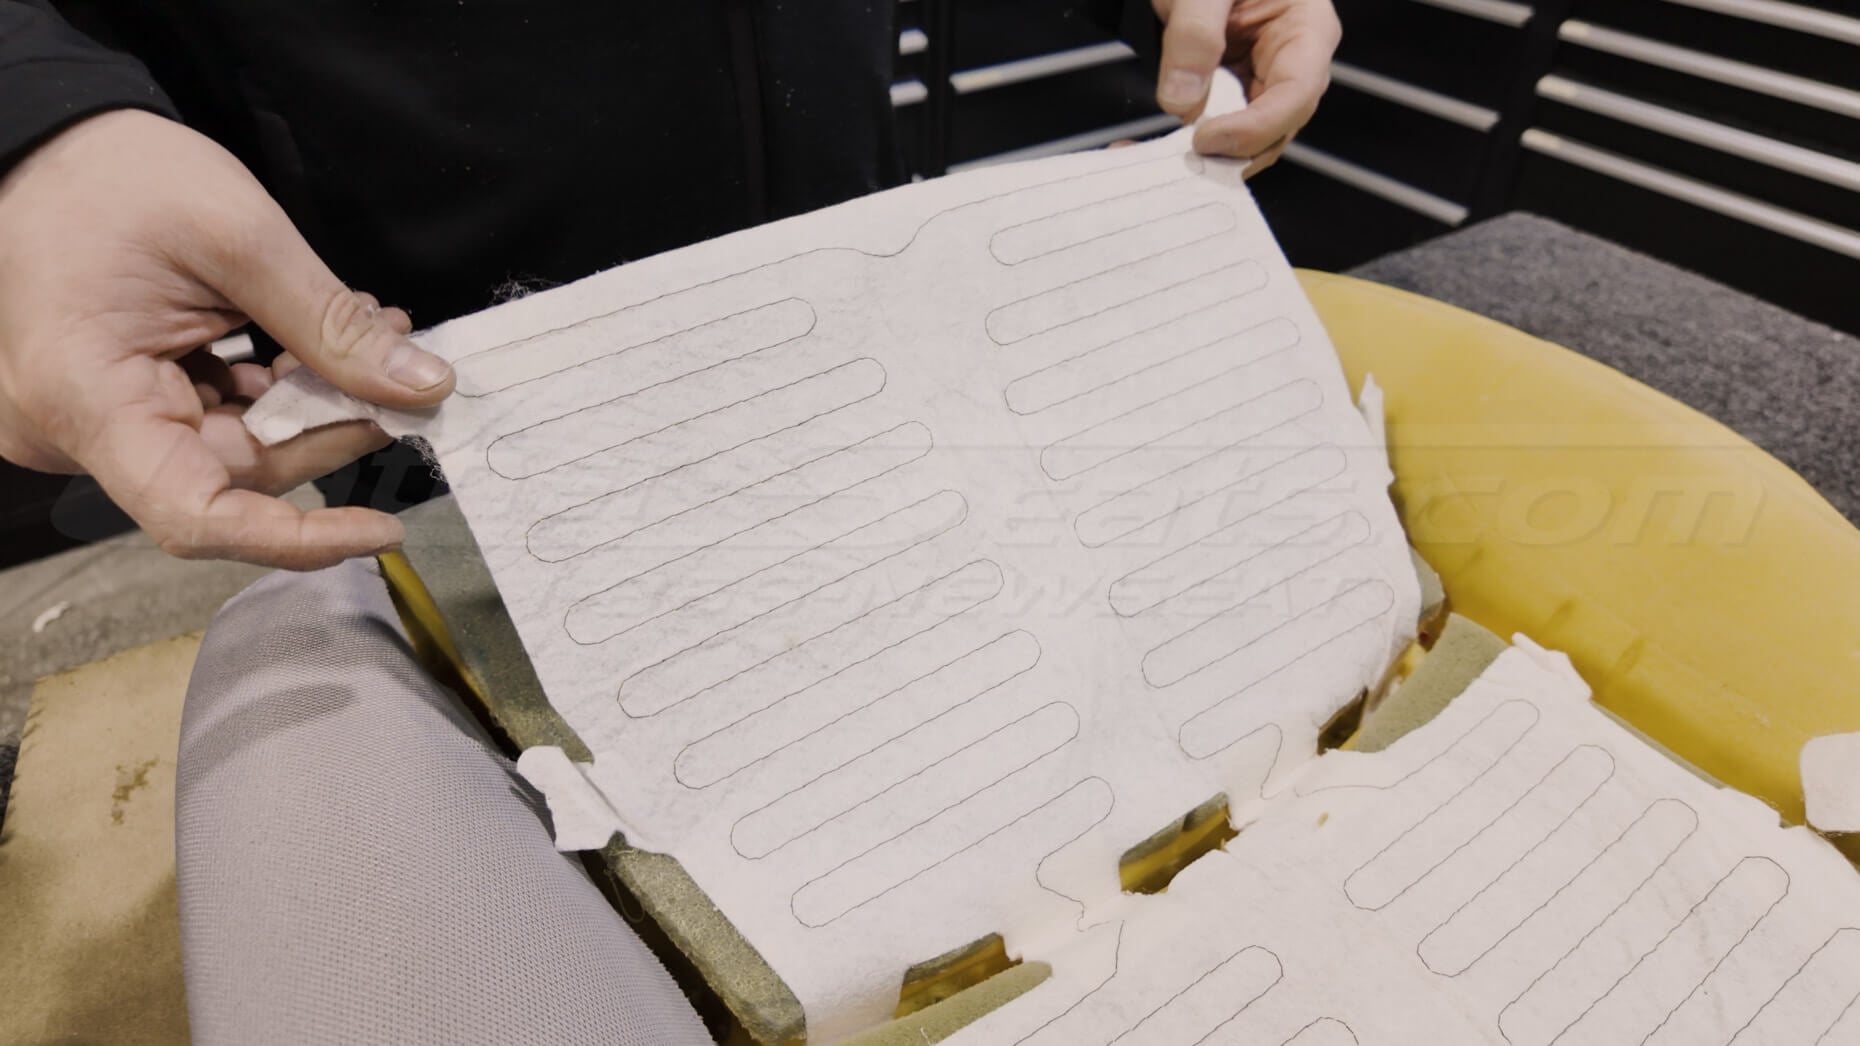
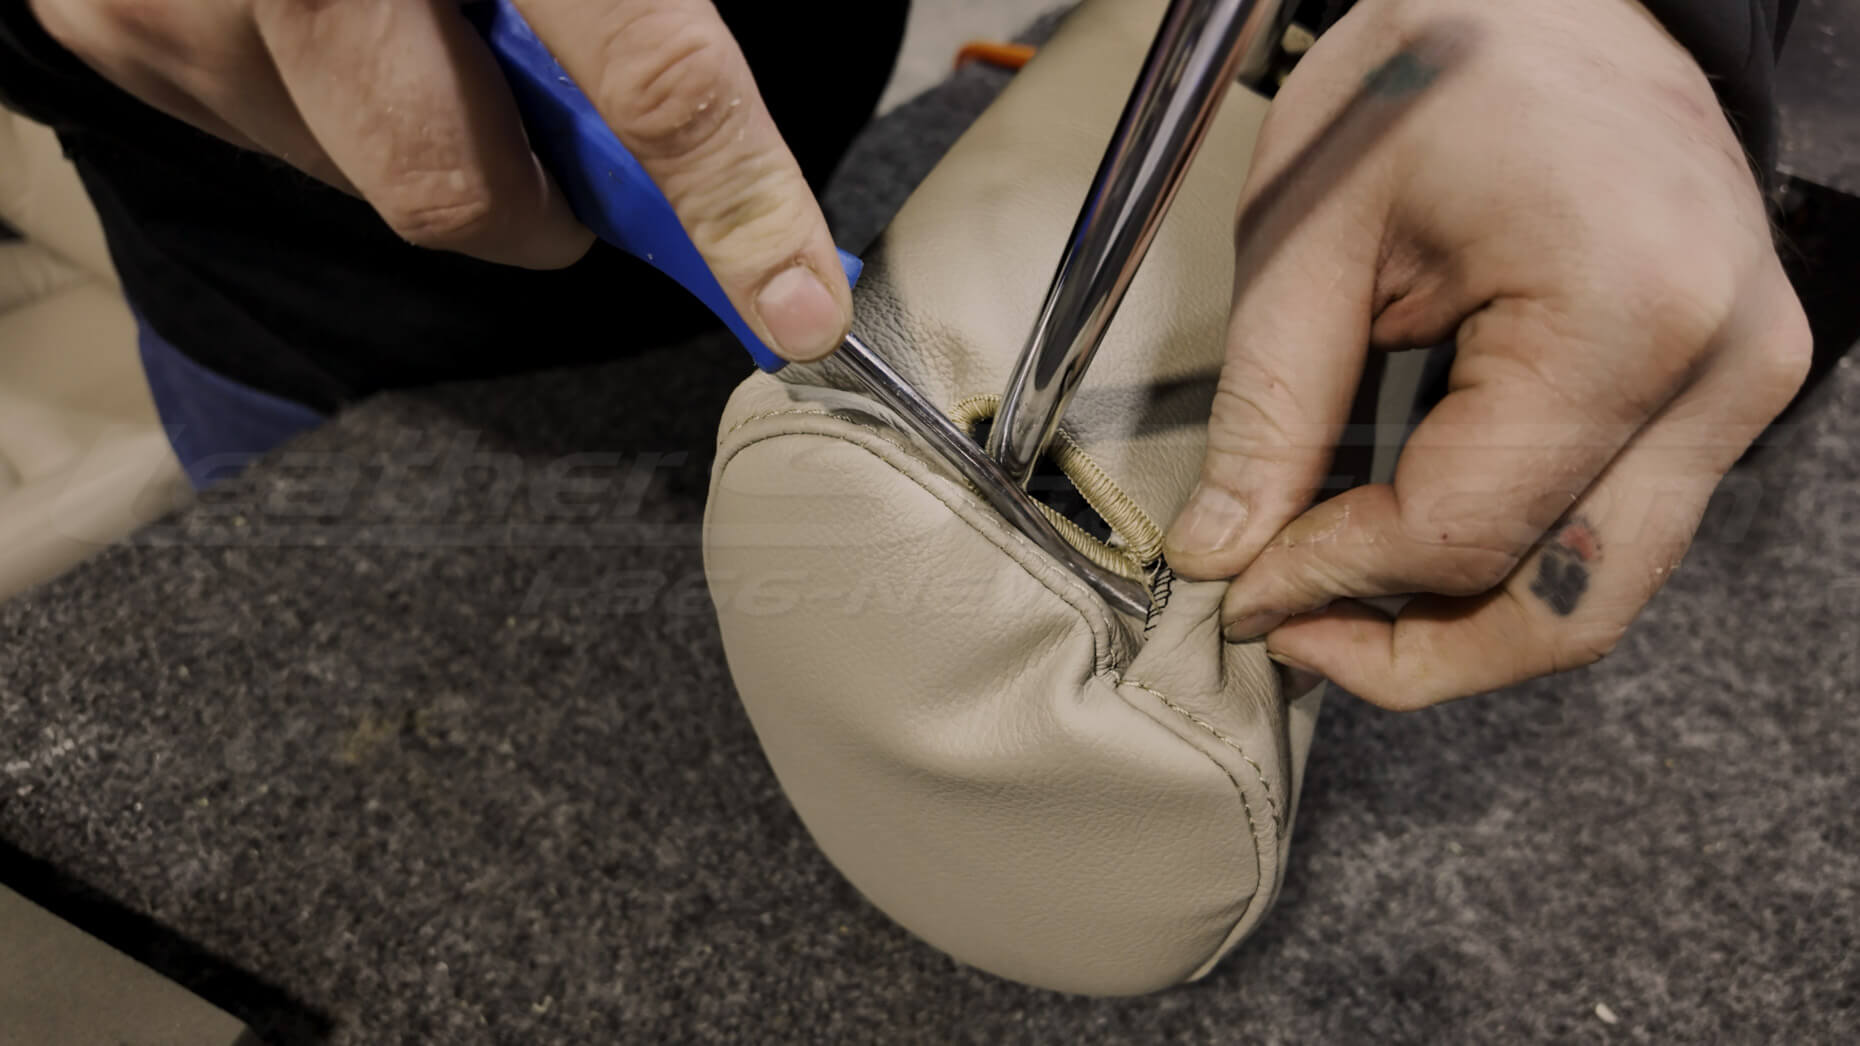
Step 2: Remove the Original Upholstery
With the seats removed, begin teardown using basic trim and upholstery tools such as a pry tool, Phillips screwdriver, and diagonal cutting pliers for cutting hog rings.
Remove the plastic frame covers, back shell, and any components that block access to the factory upholstery attachments. Electrical connections may also need to be disconnected during teardown so the upholstery and seat components can be separated properly.
A LeatherSeats.com upholstery kit replaces the original seat material completely. It is not installed over the existing upholstery like a slip-on cover.
During teardown, the installer releases the factory attachment points and removes the original material from the foam and frame. Depending on the seat design, this may involve hog rings, listing wires, clips, J-clips, zippers, Velcro, or other factory-style attachment methods.
Pay close attention to how the factory covers are removed. If needed, take photos during teardown so you can reference the original routing, attachment points, and component placement during reassembly.
Removing the original upholstery also exposes the foam so it can be inspected before the new leather is installed.
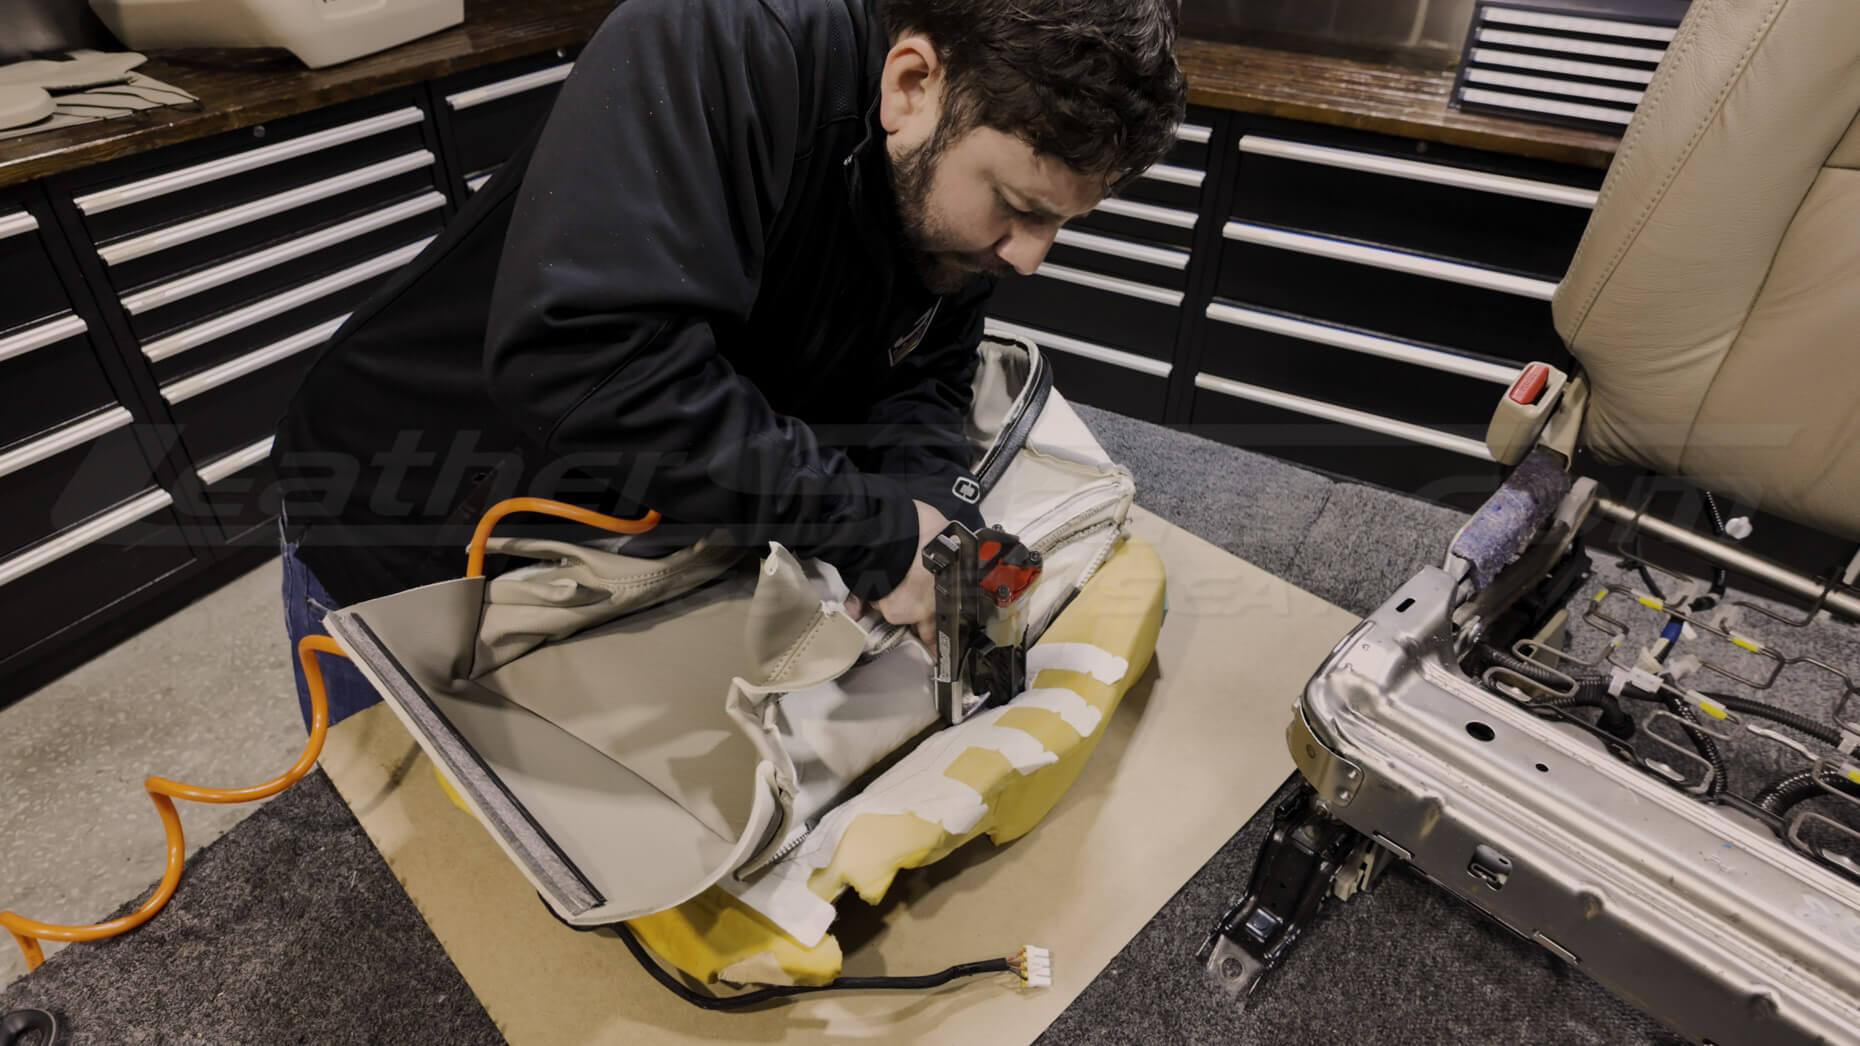
Step 3: Transfer the Factory Seat Heaters
On this GX470, the factory seat heaters are removed from the original upholstery and transferred during the installation process.
Use diagonal cutting pliers to carefully release the tabs holding the seat heater to the factory cover. The heating elements should be removed slowly so they are not torn, folded sharply, or damaged during teardown.
Once removed, the factory seat heater is transferred to the new LeatherSeats.com upholstery using upholstery spray adhesive. The heater should be positioned carefully so it lines up properly with the seating surface before the new cover is installed.
This step is important because the new leather upholstery needs to be installed while preserving the original seat functionality. If the vehicle is equipped with factory heaters, the installer must carefully remove and reposition those components so they can continue to function with the new upholstery.
Seat heater transfer can vary by vehicle and seat design, so this is an area where experience matters. The goal is to keep the heating element properly positioned while avoiding damage during teardown and reassembly.
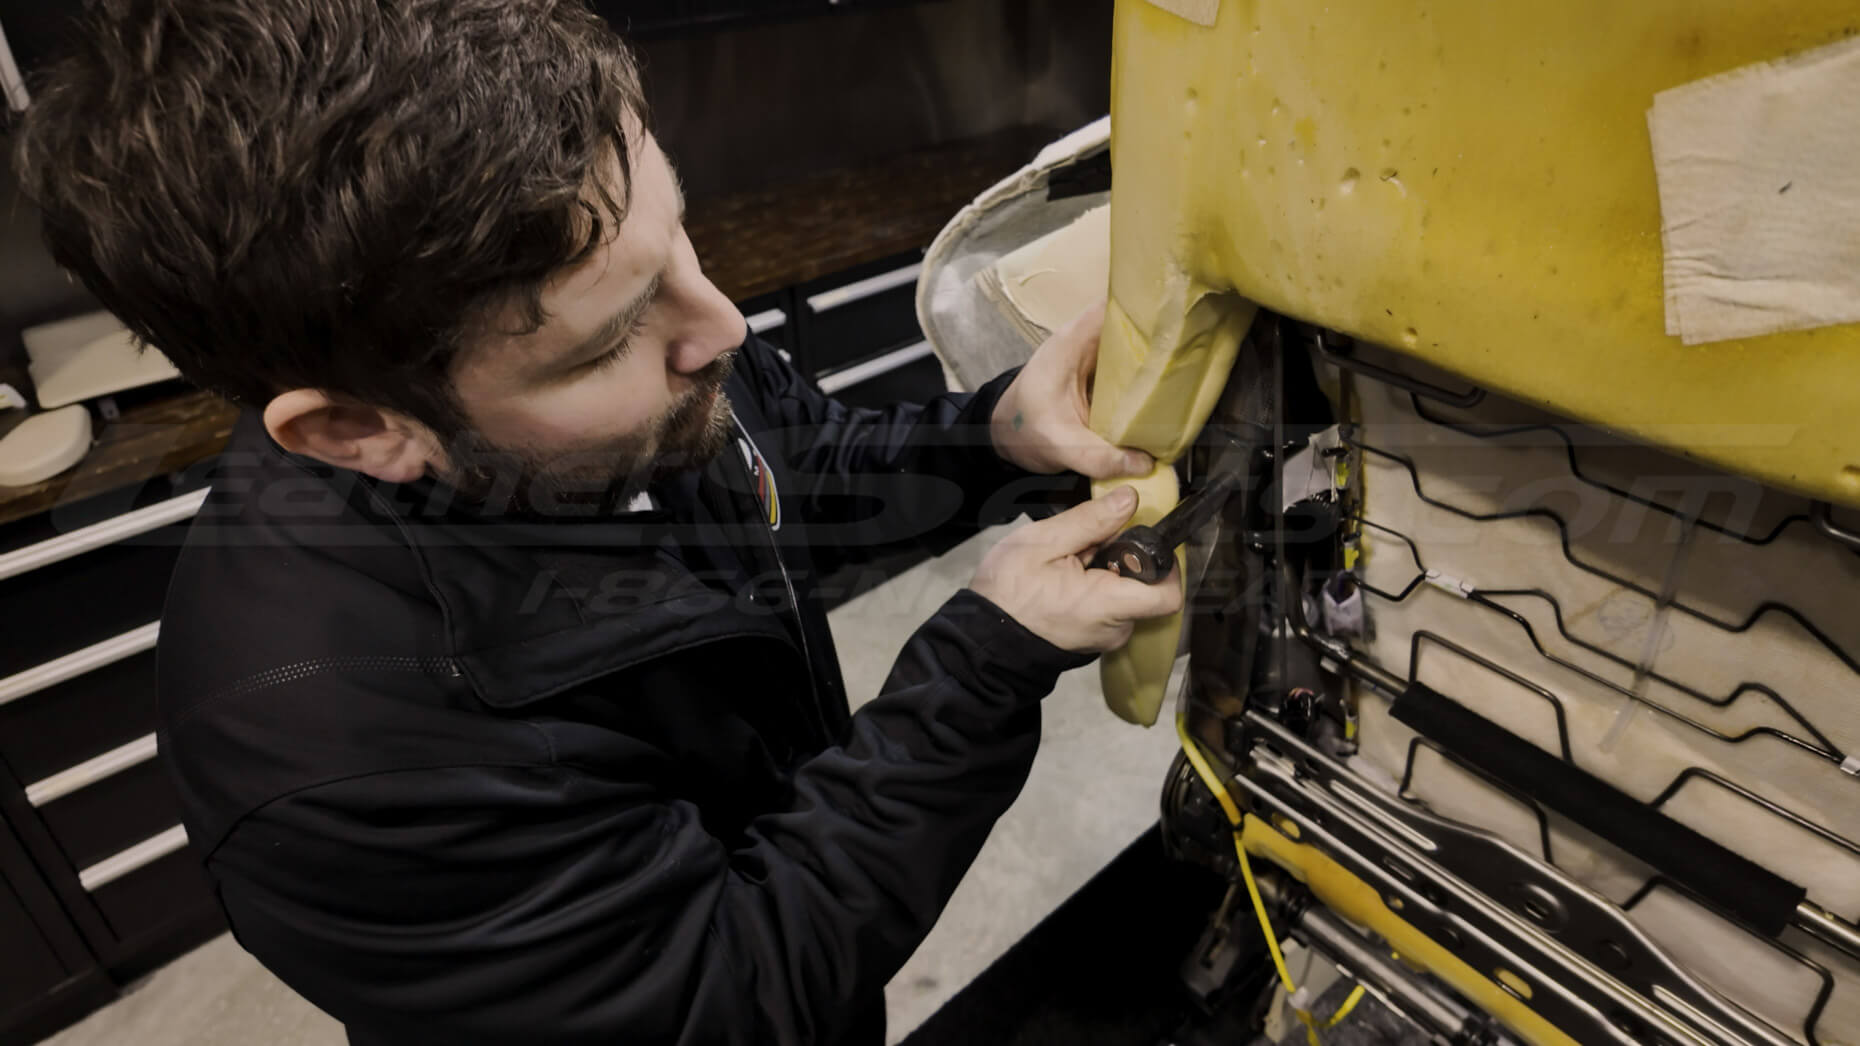
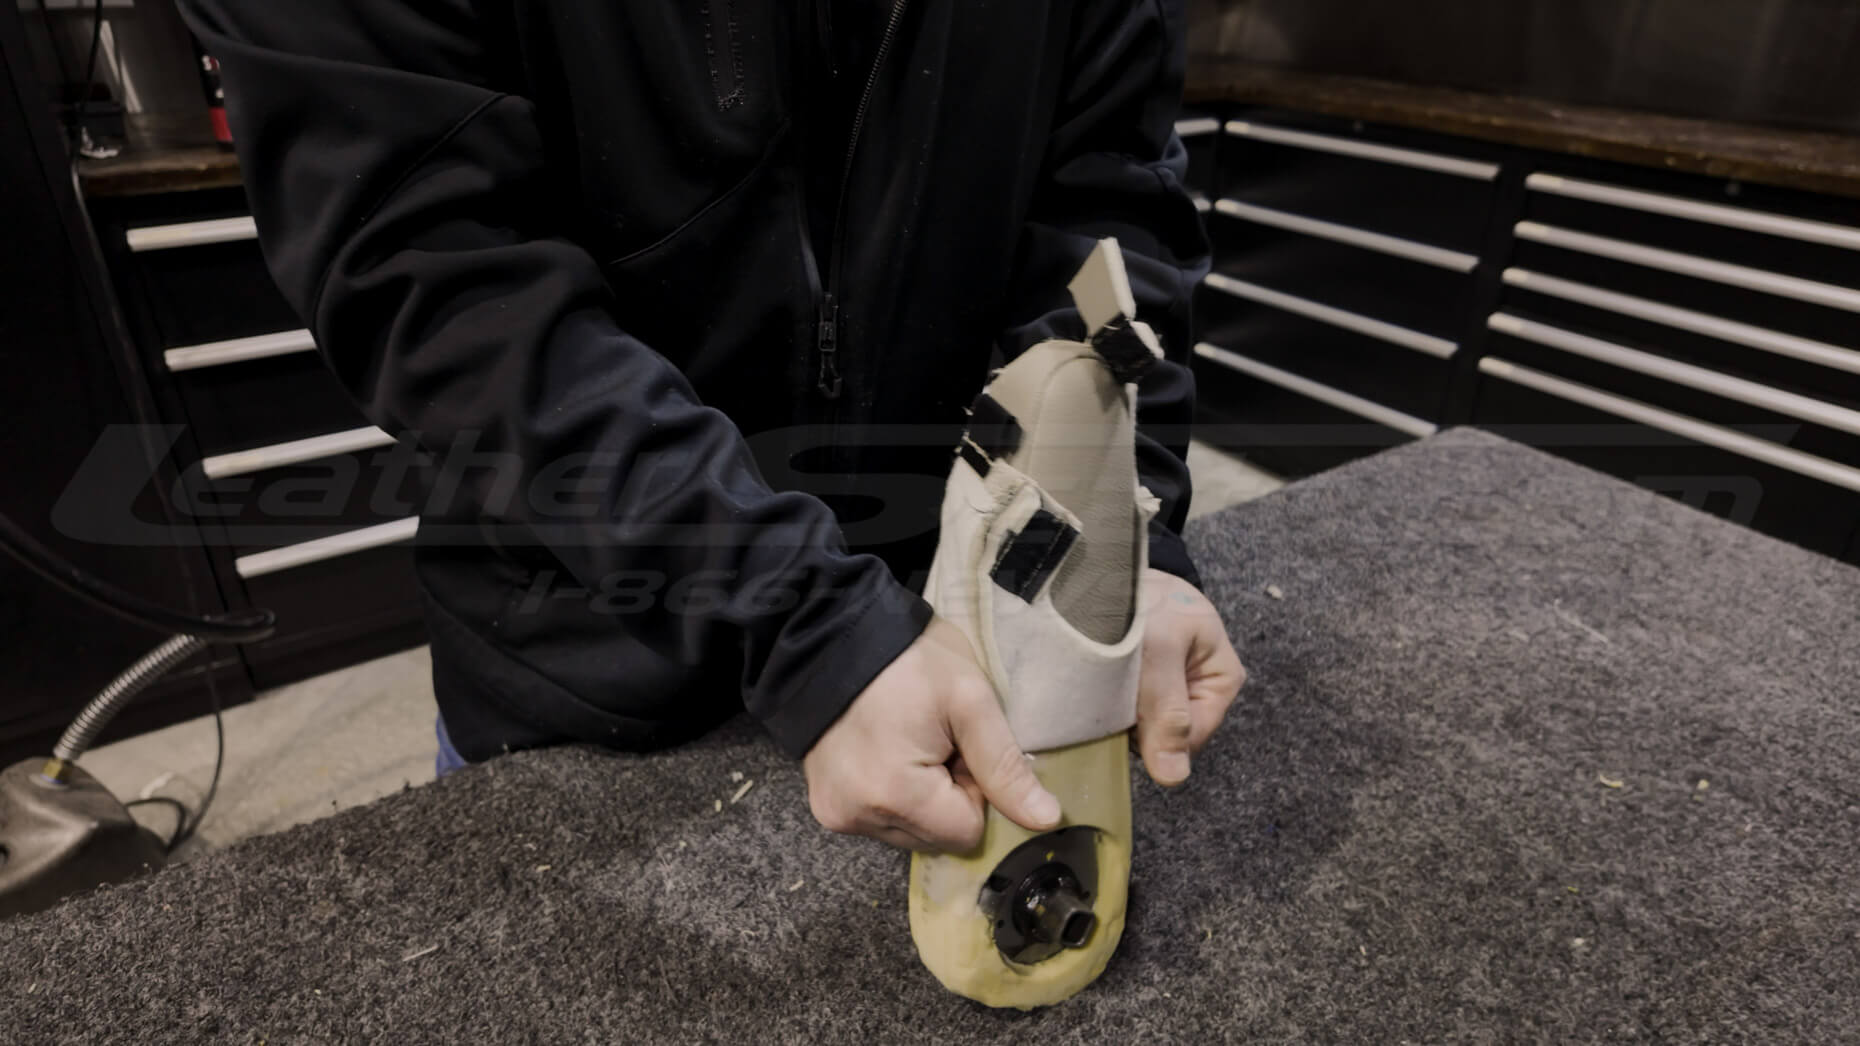
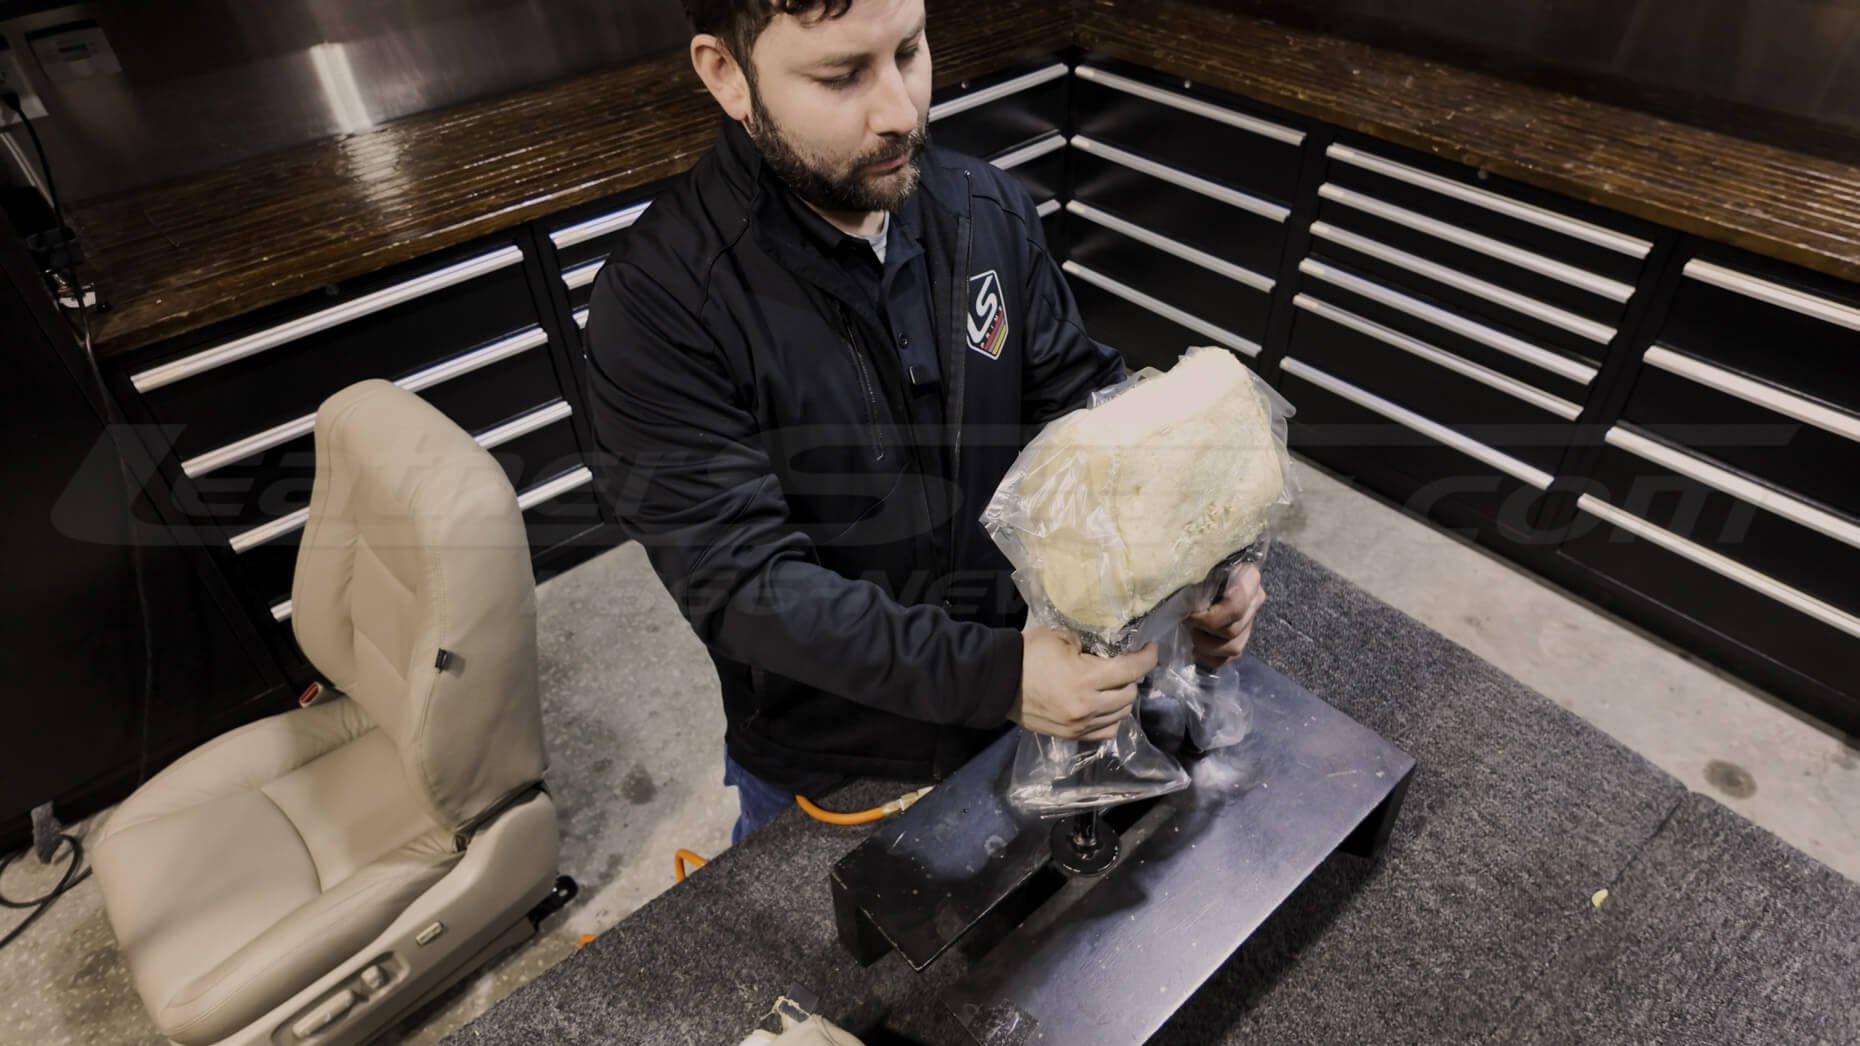
Step 4: Inspect and Reshape the Seat Foam
Before the new leather upholstery is installed, the original seat foam should be inspected and steamed.
Use an upholstery steamer or clothing steamer to steam the surfaces of the factory foam. This can help release years of compression and improve the size, shape, and pliability of the original foam.
Over time, seat foam can become compressed, misshapen, or damaged, especially on the driver seat outer bolster. Installing new upholstery over worn foam may improve the appearance of the seat, but it will not fully correct lost structure underneath.
In this GX470 installation, the seat foam is steamed and reshaped to help restore volume and improve the finished result. Steam can help relax and revive compressed foam so it better supports the new upholstery and improves the finished fit and feel.
This video also shows foam repair as part of the restoration process, but the exact repair method depends on the condition of the seat. Some seats only need minor surface repair, while others may require more extensive foam rebuilding by an experienced upholstery professional.
Step 5: Address Minor Foam Damage as Needed
The video also shows minor foam repair as part of the restoration process.
Foam repair is not the focus of this guide, and the repair method depends on the condition of the seat. Some seats may only need light steaming or reshaping, while others may require more involved repair by an upholstery professional.
The goal is to improve the seat structure enough for the new upholstery to fit properly and support the finished shape.
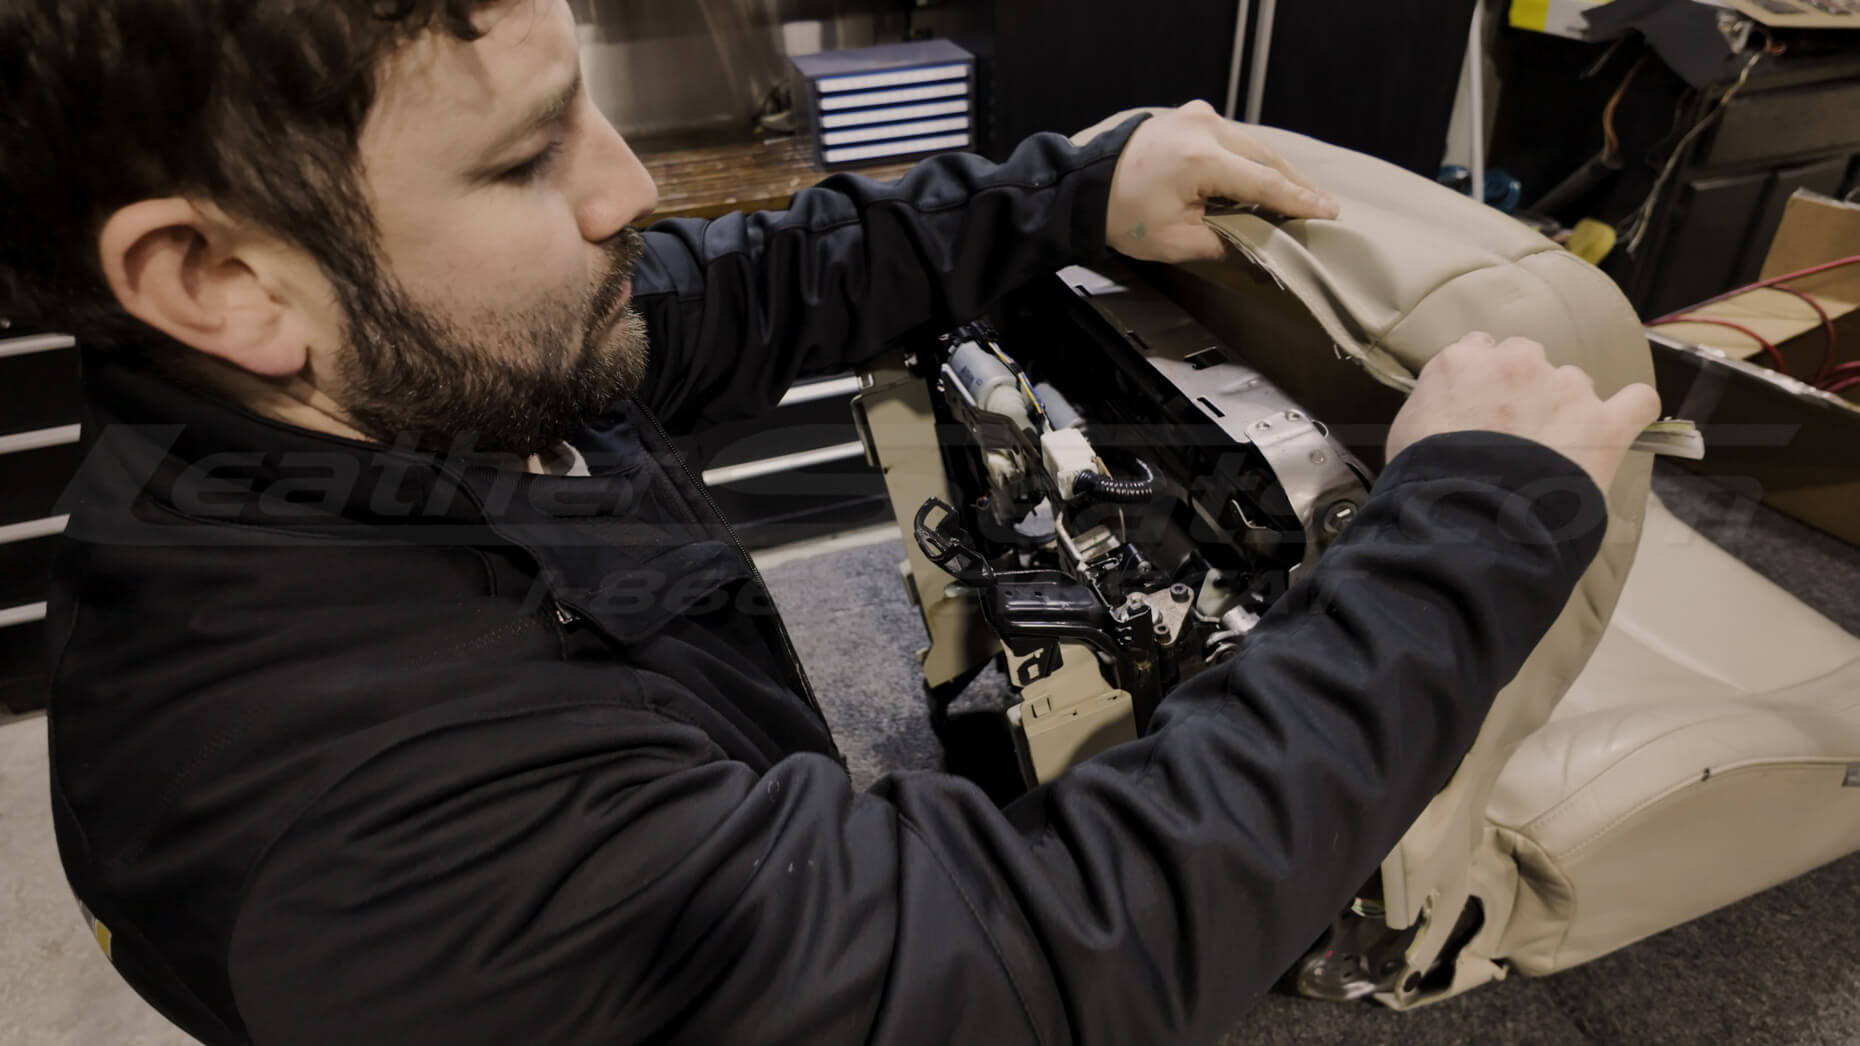
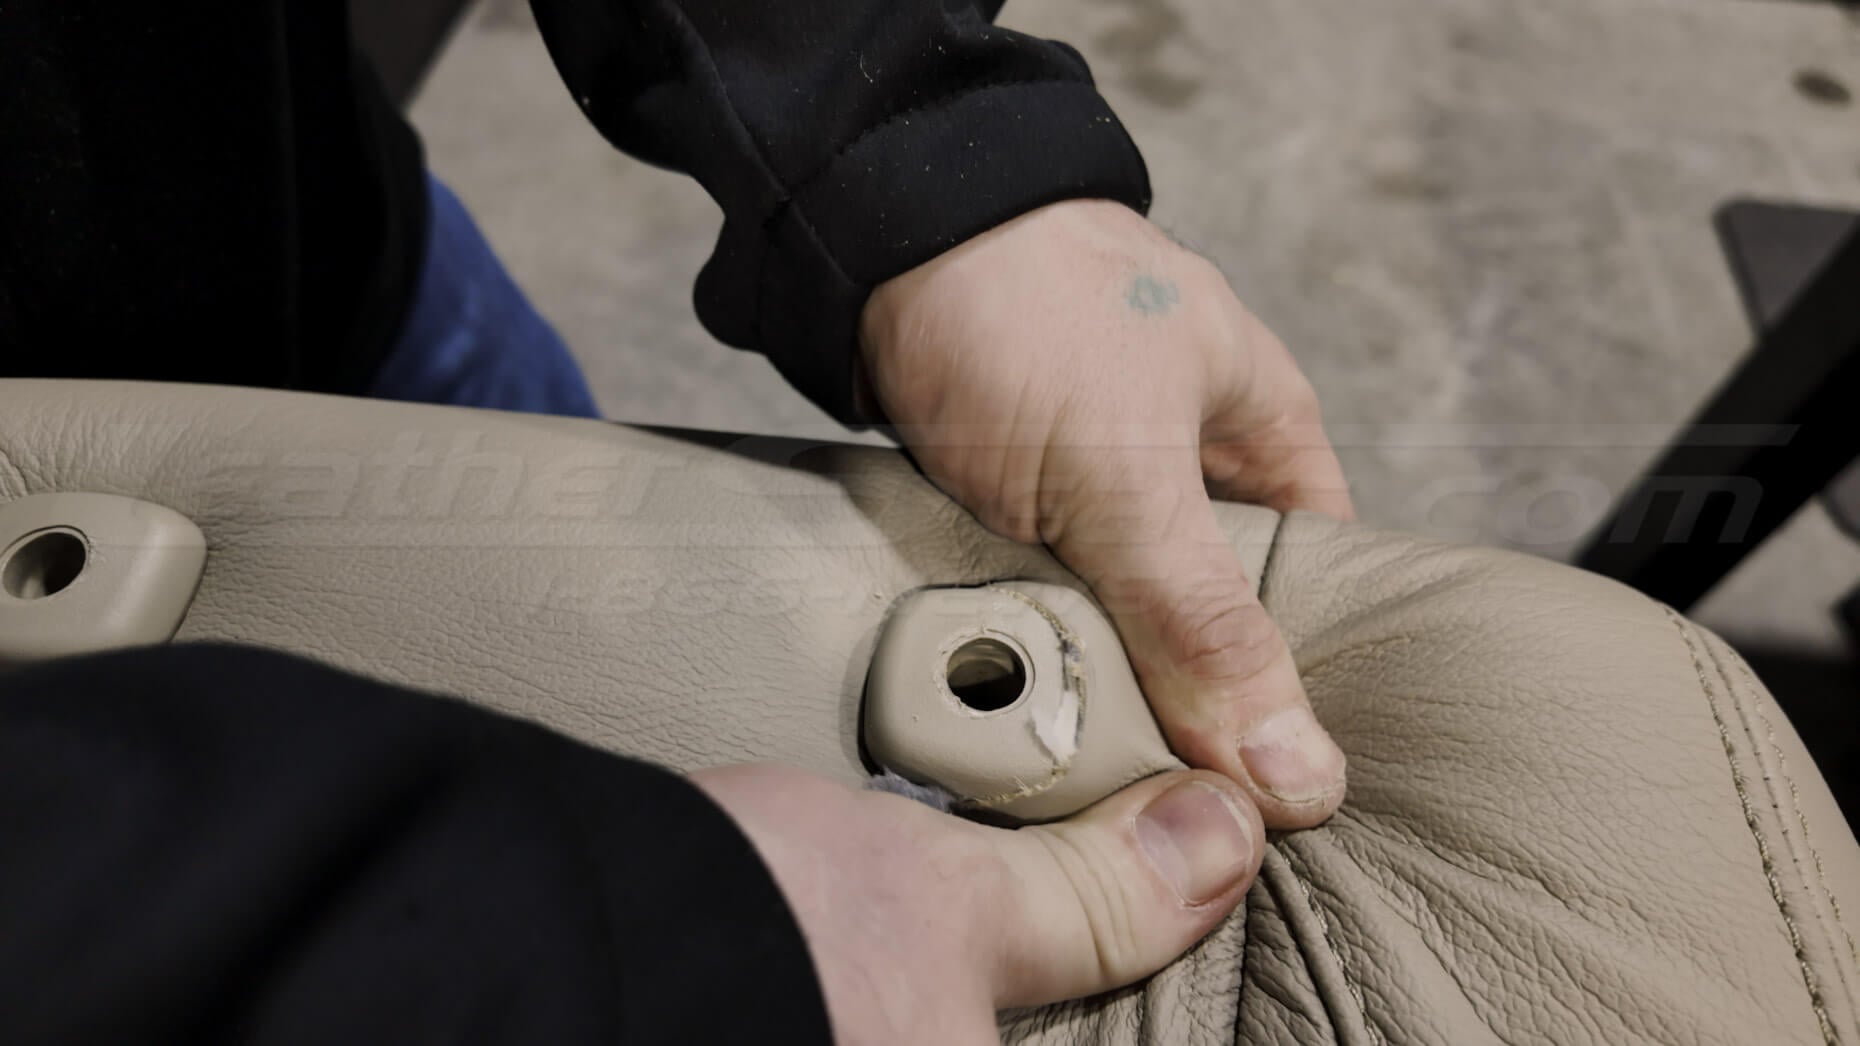
Step 6: Install the New Leather Upholstery
After the original upholstery is removed, the heater elements are transferred, and the foam is prepared, the new LeatherSeats.com upholstery is installed.
The new leather cover is fitted over the original seat foam and secured using the factory attachment points. Proper installation requires aligning the seams, securing the listings, tensioning the material, and working the upholstery into position around the bolsters, seat bottom, and seat back.
For this GX470, the kit was built in Single-Tone Ivory for a clean factory-style appearance.
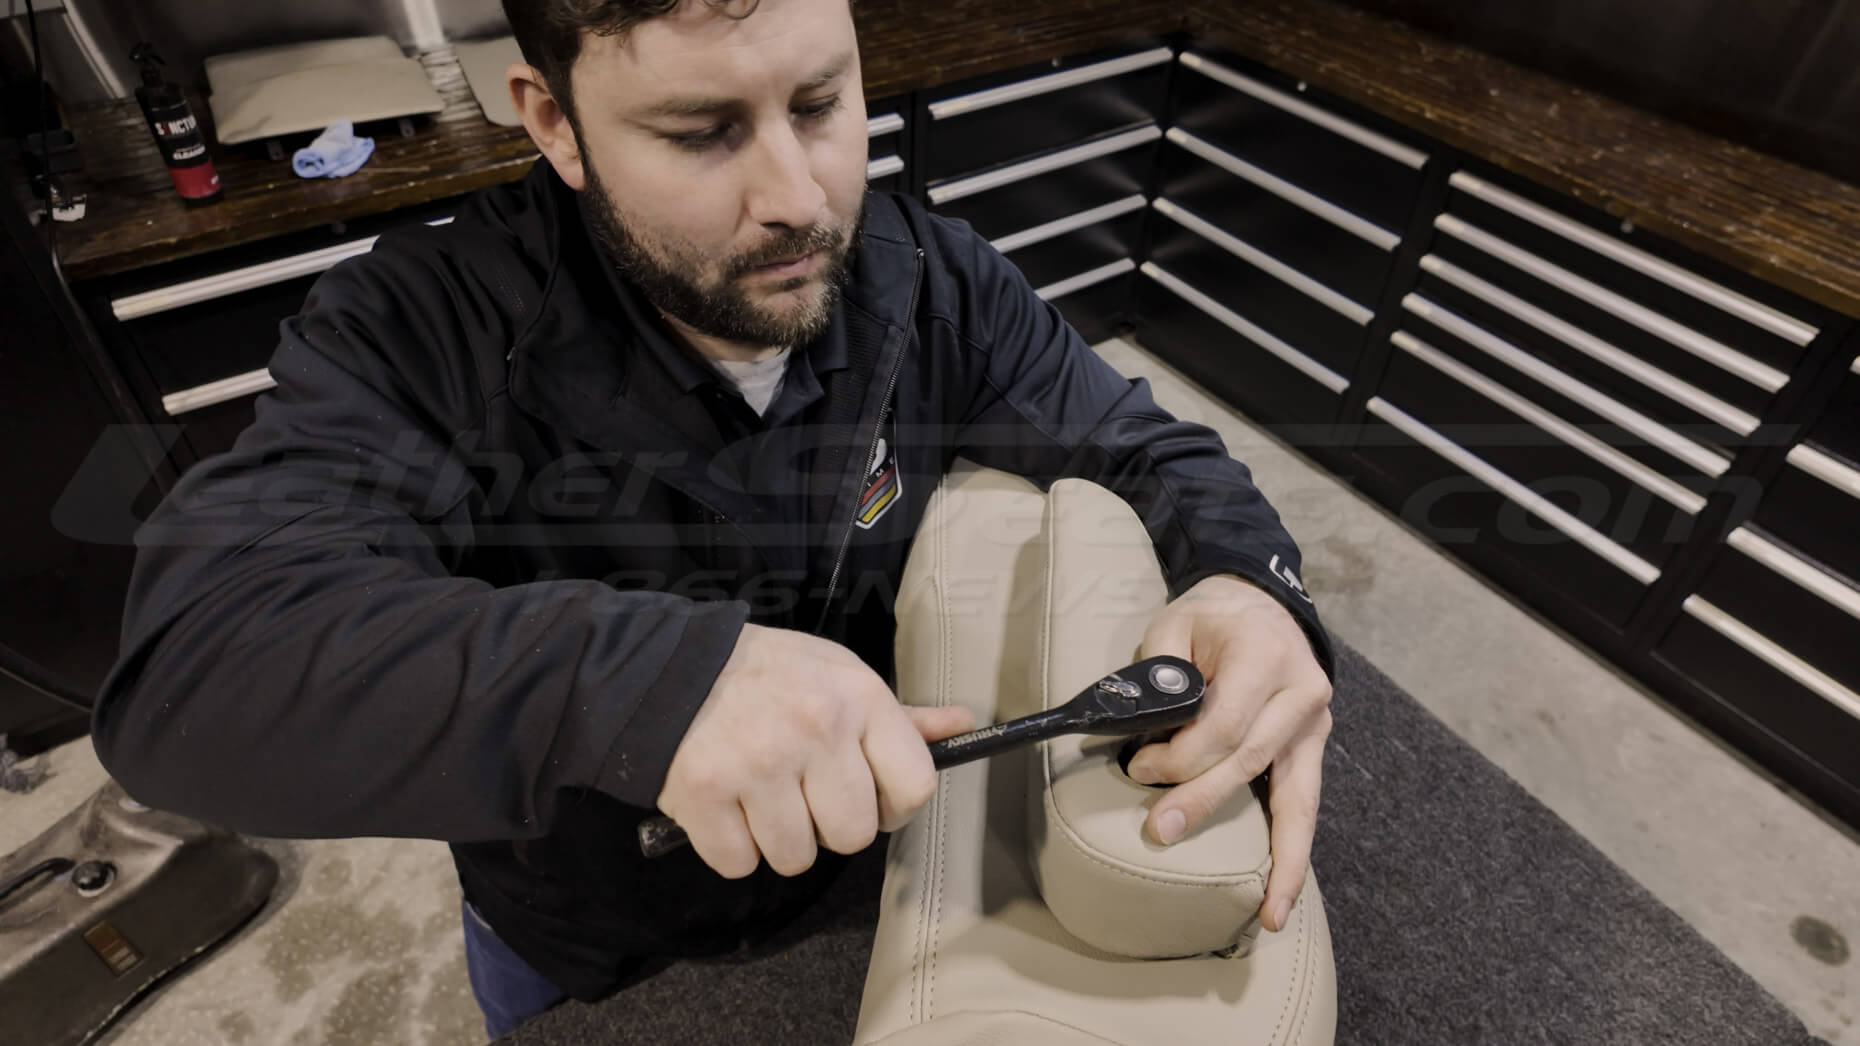
Step 7: Reassemble and Reinstall the Seats
Once the new upholstery is installed, the seats are reassembled and prepared to go back into the vehicle.
This includes reconnecting seat components, checking upholstery fitment, and reinstalling the seats into the GX470. After installation, the finished seats should look cleaner, feel more supportive, and maintain the original seat shape and function.
Finished Lexus GX470 Seat Restoration
This Lexus GX470 front seat restoration replaces the worn original upholstery with a custom LeatherSeats.com leather upholstery kit while also addressing the condition of the seat foam underneath.
The finished result restores the appearance of the front seats, improves support where foam repair was needed, and keeps the interior looking factory-style instead of covered over.
FAQ
Is this Lexus GX470 seat cover installed over the original upholstery?
Does the Lexus GX470 seat need to be removed for upholstery installation?
Can the factory seat heaters be reused with new leather upholstery?
Does new leather upholstery fix worn seat foam?
Is foam repair required when installing leather seat upholstery?
What color was used in this Lexus GX470 installation?
Lexus GX470 Seat Restoration Photos
Additional photos from this Lexus GX470 seat restoration are included below for a closer look at the installation process.