


Seat Heater Installation Guide (Aftermarket & Replacement Systems)
Our LeatherSeats.com Carbon Fiber Seat Heaters can be installed in most vehicles with a 12-volt source and are available with 3 different switch styles. These modular seat heaters are universal and can be installed under cloth or leather seat upholstery. Each seat heater kit is designed for one seat. If you would like both of your front seats to have seat heaters, you will need to purchase two kits.
A few notes before you begin.
- Lay out all of the components that you received to make sure that you have all of the parts and tools ready for installation.
- Do not install seat heater pads on top of surface-mounted occupancy detection sensors.
- Only install our Carbon Fiber Seat Heaters under upholstery that is in good condition with no rips/tears that would expose the pads.
- The seat heater draws 5.5A – 6A on HIGH with a voltage of 13.8V which is the typical regulated operating value for most automotive electrical systems after warm-up.
- Any time you disconnect the power to your seats or work with a vehicle’s electrical systems, always disconnect the main battery to avoid error codes, electrical shorts, and in extreme cases, cause the airbags to improperly deploy.
Installation Overview Video
*This is an advanced installation and requires knowledge of automotive electrical systems. We do not include vehicle-specific wiring instructions. If you are not capable of installing the product, then professional installation is highly recommended. See more Safety Guidelines at the bottom of this page.
A few notes before you begin.
- Layout all of the components that you received to make sure that you have all of the parts and tools ready for installation.
- Do not install seat heater pads on top of surface-mounted occupancy detection sensors.
- Only install our Carbon Fiber Seat Heaters under upholstery that is in good condition with no rips/tears that would expose the pads.
- The seat heater draws 5.5A – 6A on HIGH with a voltage of 13.8V which is the typical regulated operating value for most automotive electrical systems after warm-up.
- Any time you disconnect the power to your seats or work with a vehicle’s electrical systems, always disconnect the main battery to avoid error codes, electrical shorts, and in extreme cases, cause the airbags to improperly deploy.
*This is an advanced installation and requires knowledge of automotive electrical systems. We do not include vehicle-specific wiring instructions. If you are not capable of installing the product, then professional installation is highly recommended. See more Safety Guidelines at the bottom of this page.
Installation Overview Video
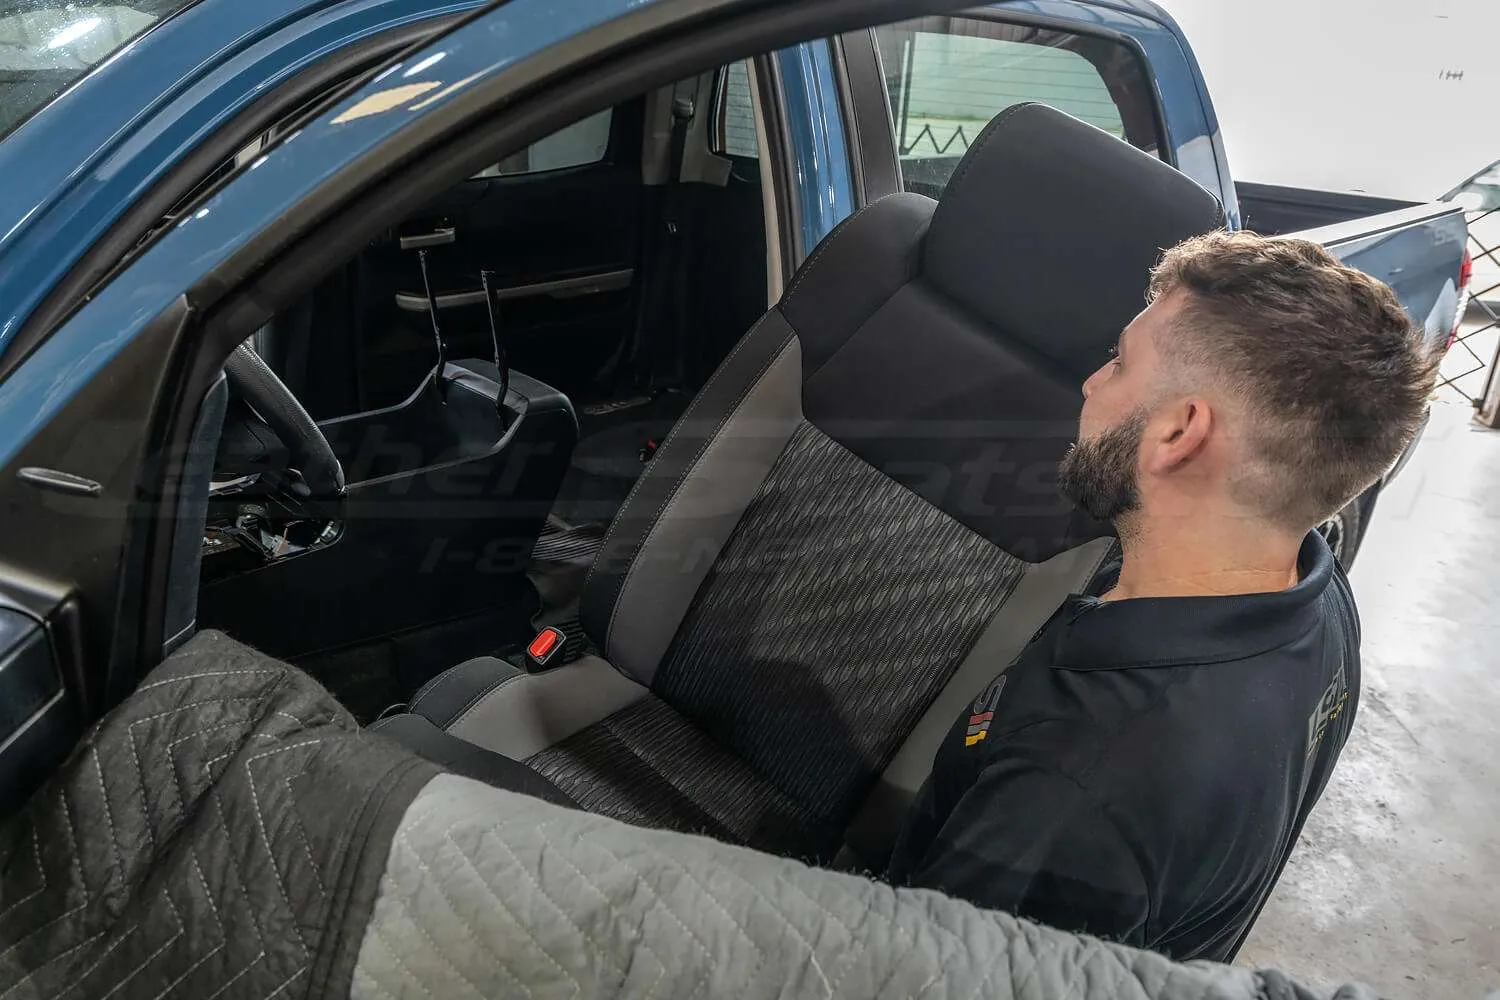
Remove Seats From Vehicle
Before removing the seats from your vehicle or servicing any electrical systems, disconnect the vehicle’s battery to ensure the working area is grounded. Unbolt the seats and unplug all power wires and connectors going into the seats. To help avoid scratching the interior plastics or door panels when removing the seats, we recommend covering the door and floorboard with blankets or towels.
Any time you disconnect the power to your seats or work with a vehicle’s electrical systems, always disconnect the main battery to avoid error codes, electrical shorts, and in extreme cases, cause the airbags to improperly deploy. Save any radio security codes before disconnecting the battery.
Remove Upholstery From Seats


Removing the cloth or leather upholstery from the seats will vary with every vehicle and typically requires basic hand tools. You may also need to remove the side plastics to gain access to the upholstery attachment points. A good practice is to take notes and/or pictures of the seats throughout this process so that you know how everything goes back together when you go to reinstall the upholstery.
Removing the cloth or leather upholstery from the seats will vary with every vehicle and typically requires basic hand tools. You may also need to remove the side plastics to gain access to the upholstery attachment points. A good practice is to take notes and/or pictures of the seats throughout this process so that you know how everything goes back together when you go to reinstall the upholstery.
Determine Pad Placement
You will need to decide where on the seats the Carbon Fiber Heating Pads will be installed. Depending on the seat pattern, there may be some upholstery listing attachments that are covered.
In some cases, it may be necessary to “float’ a listing attachment and only use one of the attachment points. The sample shown floats the back horizontal listing on the seat cushion as we determined it was not necessary for this specific upholstery kit installation.


Modify Pad for Fitment


The pads may be cut horizontally and shortened to fit your seat cushion. DO NOT cut the pad shorter than 12 inches in length. DO NOT cut holes on or around the base of the pad (the side with the connection cord). We do not suggest making long vertical cuts down the center of the pad or near the connection cord as this may affect the effectiveness of the seat heater.
A sequence of holes may also be cut into the pad to access your seat cover’s listing attachments. Any hole cut in the pad must be at least 2 inches away from the perimeter of the heating pad and should be a minimum of ½ inch squared with a ½ inch of clearance from other holes to avoid contact upon installation that could lead to a short circuit. Use a sharp razor blade for a clean cut.
Use strong cloth fiber tape or duct tape to cover the edges of any cuts made on the pad that expose the heating elements. This ensures that the carbon fiber elements are insulated and will not be able to touch and cause a short circuit in the pad.
Adhere Heating Pad To Seat Foam
Lay the carbon fiber heating pad back up on the seat foam and make sure that everything is aligned correctly and symmetrically on the foam. With the pad in its final position, remove the adhesive strip backing one section at a time. Fold up the pad and (optionally) apply spray adhesive to the back of the pad and the seat foam where it will be placed.
Make sure the pad’s connection cord can be routed underneath the seat to connect to the wiring harness assembly. On some seats, you may need to modify the seat foam to route the cord effectively as shown in the photo with the alternate method.


Reinstall Seat Upholstery


Reinstall either the factory upholstery or upgrade your seats with a LeatherSeats.com upholstery kit.
Take care to not puncture or tear the seat heater pad during installation.
Again, you may need to float an attachment listing or get creative and use an alternative attachment method. As shown in the photo of the alternate method, we utilize pieces of elastic bungee cord and a plastic disc to effectively secure the seat cover to the cushion.
Switch Installation
Determine where you are going to mount the switch as switch placement will vary from interior to interior. Be sure there is enough room behind the mounting surface for the switch body and wiring harness.
Cut hole for switches based on the measurement provided in the product listings. There are a number of methods to cut out the holes and will be up to you to decide what is best for your situation.


Wiring
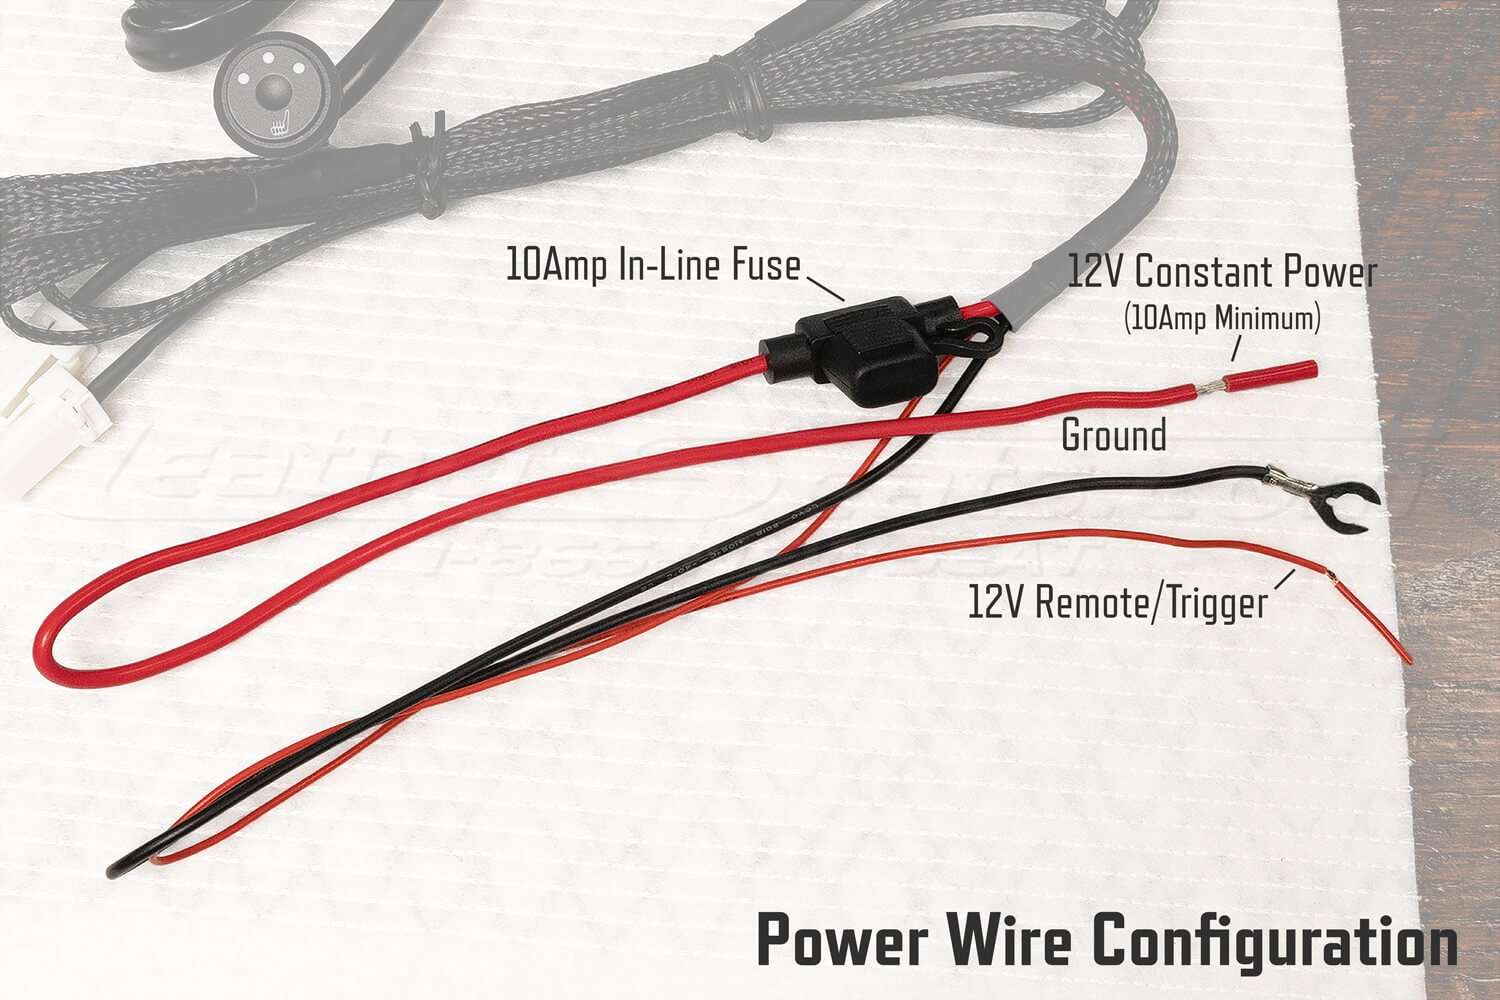
If you are not familiar with wiring automotive 12V systems we strongly recommend taking these units to a professional for installation.
Connect the thick red positive wire to a 12v constant power source with a minimum of 10 amps.
Connect the thinner red remote/trigger wire to an ignition-switched power source (no amperage minimum).
Connect the black ground wire to a bare metal surface on your vehicle’s chassis.
Safety Guidelines
- Only install seat heater pads underneath removable seat upholstery that is in good condition with no rips or tears that would expose the pads.
- Do not install seat heater pads on top of surface-mounted occupancy detection sensors or occupancy position sensors.
- Do not layer seat heater pads or fold pads over themselves when installed.
- Do not operate the seat heating unit unless a passenger is sitting on it. The passenger must be able to feel the heat and be able to react accordingly.
- Do not allow people who experience difficulty with feeling the heat, including paraplegic persons and young children, to use the seat heating unit to avoid potential injury.
- Do not leave the heating unit switched on unsupervised.
*This is an advanced installation and requires knowledge of automotive electrical systems. We do not include vehicle-specific wiring instructions. If you are not capable of installing the product, then the professional installation is highly recommended.
